Setup and Initialize Firebase Storage
Follow the steps to Setup and Initialize Firebase Storage for Web :
- Open your Firebase project console then go into
Build>Storageand open it. - Click on
Get startedand set security rules for cloud storage by selecting any option between 'Start in Production mode' or 'Start in Test mode'.[If you are new to firebase so go with the Test mode and letter set rules for firebase cloud storage.]Start in Production mode : You need to define security rules so third party can't use.Start in Test mode : Anyone can use it for 30 days using Firebase SDK after 30 days you have to set security rules. [you can also set before 30 days.]
.webp?alt=media)
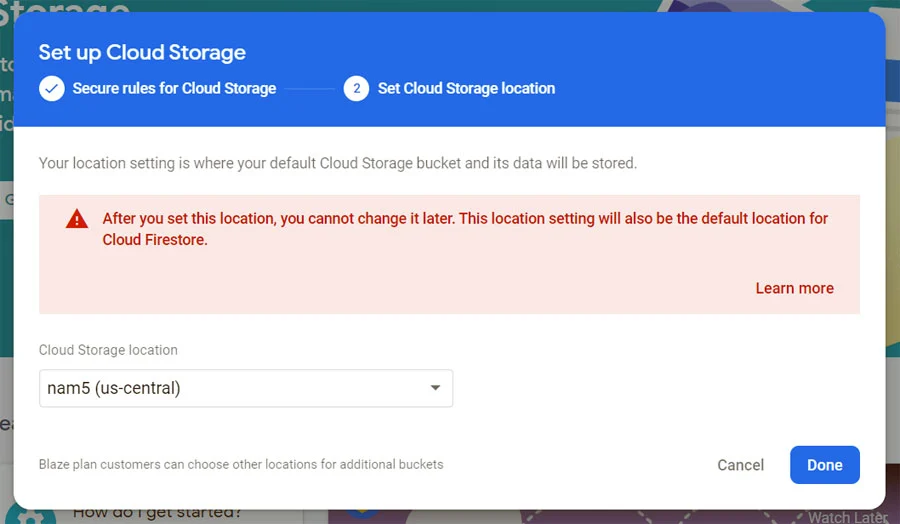
- Select cloud storage location and hit Done.

- Then wait till it create default bucket and setting up security rules for bucket after that you can storage dashboard.
.webp?alt=media)
- Now setup firebase SDK and initialize storage.
- So for that you need for storage location reference. You can find it to storage dashboard in Files tab then look in the header of the file viewer [You can see in above image] or you can get it from project settings.
- Open firebaseConfig object and add your storage URL in object. Its in this form '<PROJECT_ID>.appspot.com'.
Initialize Storage and simply export it so whenever you need Storage so just import it from firebaseConfig file.
firebaseConfig.js file :import { initializeApp } from 'firebase/app';
import { getStorage } from 'firebase/storage';
const firebaseConfig = {
// ...
storageBucket: '<PROJECT_ID>.appspot.com',
// ...
};
const app = initializeApp(firebaseConfig); // Initialize Firebase
export const storage = getStorage(app); // Initialize Cloud Storage
Related Post
Upload File

Explore
Copyright © 2024, All rights reserved by Firebase Master
